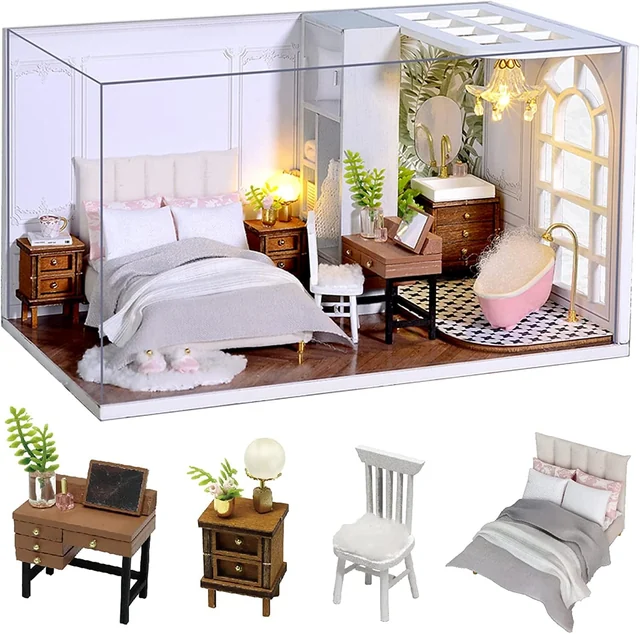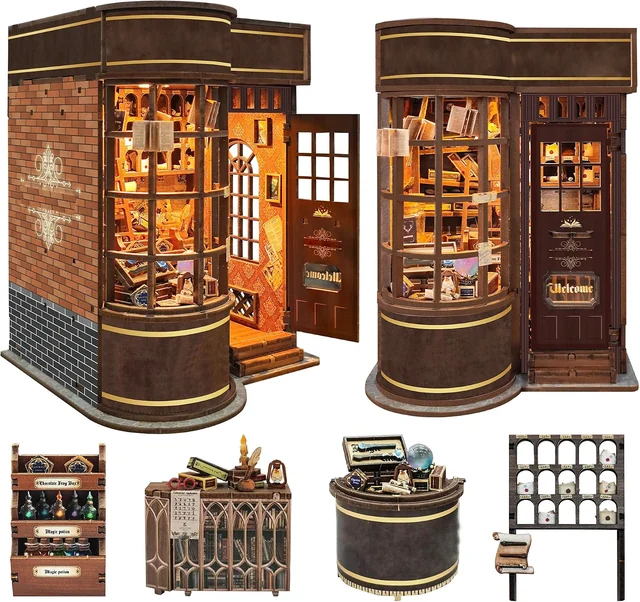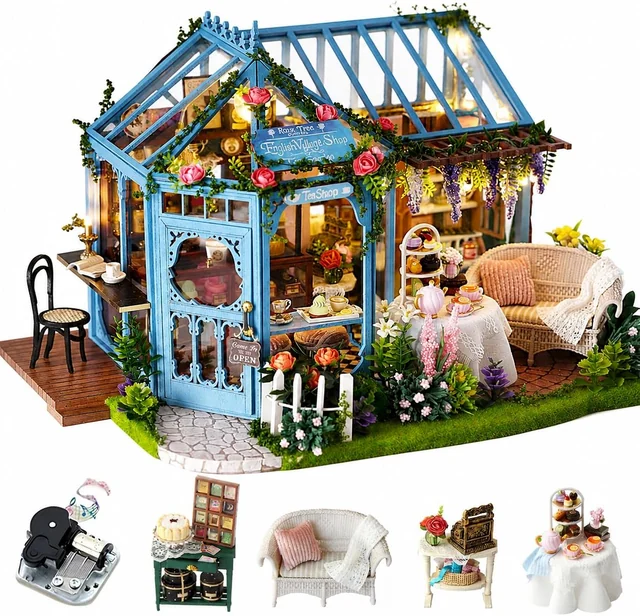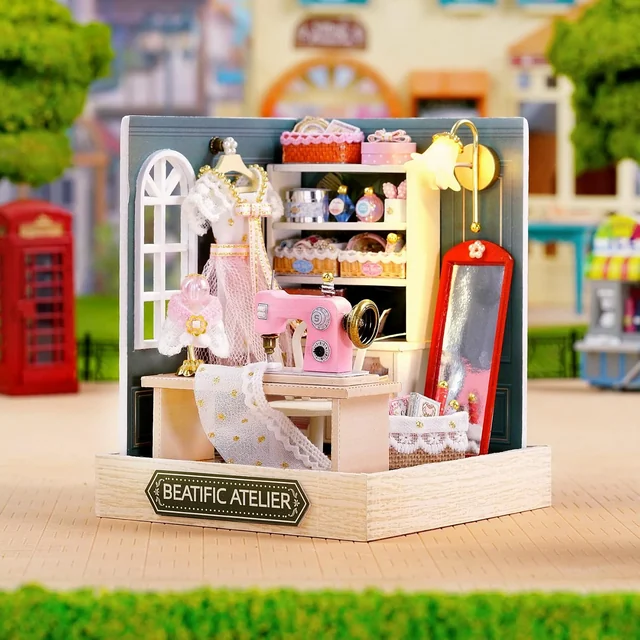
A neat miniature begins before the first drop of glue. Read the sequence, identify the parts for one step, test how they fit, and leave yourself a clear place to pause. These habits make a first CUTEROOM build easier to follow and give you time to correct a small mistake before it becomes part of the structure.
The advice below is general hobby guidance for miniature rooms, book nooks and dollhouse displays. Use the instructions supplied with your exact model for part numbers, assembly order, electrical connections and required supplies. Kits differ, even when their finished scenes look similar.
Prepare a workspace you can return to
Choose a stable surface with enough space for the instructions, the current assembly and a small selection of parts. Put drinks, food and unrelated objects elsewhere. A cluttered table makes it easier to lose a tiny component or reach across an assembly that is still drying. Good organization does not require a permanent workshop; it requires a clear boundary around the work.
Arrange a light so your hands do not cast a heavy shadow over the join you are making. Test the position while holding a small part, not just while looking at the empty table. If you use a magnifier, make sure there is still room to move the tools comfortably underneath it. Change the setup when it encourages you to hunch over the model.
Protect the table with a suitable work surface. If cutting is required, use a proper cutting mat and the tool's safe handling instructions. Keep the hand holding the material out of the cutting path. A familiar, controlled tool is a better choice than an unfamiliar one bought only because it appears in a craft photograph.
Prepare a separate place for drying assemblies. A level tray or board can be useful if it supports the whole piece and will not be bumped. Keep it away from children and pets, and avoid placing fresh joins where someone might assume the object is ready to pick up. Labeling a tray with the next step can also make the following session easier.
When your workspace must be cleared daily, plan storage before opening all the bags. Keep unassembled parts in labeled containers and preserve their original identifiers. Move assemblies by a stable support underneath them, rather than by a roof, wall decoration or small furniture piece.
Check the box before removing small parts
Find the instruction booklet and compare the contents with its inventory. Work systematically through sheets, bags and larger components. Photograph the unopened arrangement if it helps you remember where items came from. Do not cut or separate everything at once simply to make the table look organized.
Part labels are valuable information. Two pieces may look alike until you notice a slot, a printed face or a slightly different length. Keep them associated with their identifiers until the instructions tell you which one to use. If you transfer loose components into an organizer, copy the labels clearly and keep the original packaging nearby.
Inspect the major structural pieces before starting. A damaged corner, warped panel or missing connector is easier to discuss while the kit is still unassembled. If something seems wrong, check the inventory and the surrounding packaging once more, then take a clear photograph of the item and its label. Use the order-help options associated with your purchase for a model-specific question.
Do not treat an unfamiliar scrap as waste too early. Some sheets contain small parts, templates or identifiers that are easy to overlook. Keep the packaging and leftover material together until the build is finished. At the same time, keep actual cutting waste in a separate container so it does not become mixed with usable components.
Our assembly help page offers a short checklist for preparing a question. The most useful information is usually the exact model, the instruction step, the part label and a photograph showing the problem in context.
Read the sequence before beginning a section
Look through the whole instruction booklet once, then study the next few steps more carefully. You are looking for dependencies: a wire that passes behind a wall, furniture that must be fitted before a roof, or a printed surface that becomes inaccessible after assembly. This preview helps explain why the sequence matters.
Do not assume that a finished photograph shows the assembly order. A decorative object that appears near the front might be installed late, while an almost invisible support may be essential much earlier. Follow the numbered process and use the photograph to understand orientation and final appearance.
Pay attention to mirrored parts. Compare slot positions, printed faces and the direction of any tabs before joining them. A left and right panel can appear interchangeable when lying flat. Turn the parts into their intended position and imagine the next piece attaching to them before applying adhesive.
Mark completed steps in a way that does not obscure the diagram. If you stop midway through a section, write down what is complete, what is waiting to dry and what you should do next. A short note is more reliable than leaving a loose piece on the page as a reminder.
If an instruction is unclear, pause at that point. Recheck the part label and nearby diagrams, then seek model-specific help if necessary. Continuing with a guess can make the problem harder to reach later, especially inside a narrow book nook.
Build a small toolkit around the instructions
Collect only the tools required for the actual tasks. Tweezers can help position small parts; scissors may suit paper or fabric details; a ruler can help check a fold or alignment. Some kits include tools and some require additional supplies, so inspect the exact contents before buying duplicates.
Choose tweezers that let you grip comfortably without excessive pressure. Test on an expendable scrap to understand how easily a small piece can slip out. Work over the tray or mat so a dropped part is easier to find. Avoid holding delicate printed surfaces harder than necessary.
A simple straightedge can help you judge whether a furniture assembly is square, but do not force a part into alignment with a tool. The intended fit should be understood first. If something appears too long or too short, check its identity and orientation before deciding that it needs trimming.
Keep adhesive applicators separate from clean positioning tools. Dried glue on a tweezer tip can transfer to a visible surface or make it difficult to release a small item. Clean tools according to the adhesive and tool instructions, and put away sharp tools whenever you leave the table.
Manufacturer resources such as Robotime's basic DIY tool guide illustrate common tool types used in the hobby. They are useful background, while the requirements for your CUTEROOM model should come from its own instructions.
Dry-fit each join before using adhesive
Dry fitting means bringing the parts together without glue to understand how they meet. It gives you a chance to identify the correct faces, check alignment and see whether the next assembly will have enough clearance. For a first project, this is one of the most useful pauses you can build into your routine.
Place the parts in their intended position with gentle pressure. If they resist, stop and inspect the joint. Confirm the part number, orientation and any required preparation in the instructions. Do not assume that force is the missing step. Thin tabs and narrow edges can be damaged by repeated attempts to push them into the wrong opening.
Check the assembly on a level surface where appropriate. A chair or table that rocks during dry fitting will not become level simply because glue is added. Identify whether one piece is reversed, a joint is not seated, or the design includes an intentional angle. Use the diagram to decide, rather than trimming a leg by eye.
Plan where your fingers or tweezers will hold the piece while the adhesive begins to set. A neat dry fit can become awkward once the surfaces are wet and slippery. Rehearsing the placement once helps you avoid reaching across the model with an uncapped glue bottle in your other hand.
If a support or clamp is needed, ensure it will not mark, crush or pull the assembly out of position. Follow the kit's method where one is specified. Improvised pressure should never be so strong that it distorts thin parts in order to make a joint appear closed.
Control adhesive instead of correcting excess
Check that the adhesive suits both materials and the instructions for the step. Paper, wood, clear plastic and fabric do not automatically call for the same product. Use the required quantity and application method on the adhesive label, and test unfamiliar combinations on suitable spare material before touching a visible part.
For a very small join, a controlled applicator may help you place adhesive accurately, if compatible with the product's directions. Work with a fresh, small amount rather than a large puddle that changes consistency while you assemble several parts. Keep the container closed between uses.
Watch the edge of the joint as you bring the pieces together. If adhesive squeezes out, follow the product's removal instructions while protecting nearby printed surfaces. Wiping blindly across a miniature can spread the mark into a larger area. Avoid adding water or solvent unless it is suitable for both the adhesive and every material it may touch.
Set the piece down in its intended alignment and allow the stated time before handling. A surface that feels dry is not always a fully ready joint. The manufacturer's directions for Aleene's Original Tacky Glue, for example, explain that drying depends on application thickness and conditions. Use the instructions for the product you actually have rather than a universal waiting time from a hobby video.
A faster adhesive is not always easier for a beginner. It may leave less time to adjust alignment, and some products can mark nearby finishes. Read ventilation, handling and storage directions. Never mix adhesives or improvise a chemical shortcut to speed up a step.

Make paper details in small batches
Paper accessories can give a room much of its character. Small books, cartons, signs and printed surfaces reward accurate cutting and consistent folds. Begin with one complete item so you understand the pattern before preparing a large batch. This reduces the chance of repeating the same mistake across every piece.
Identify the cut lines and fold lines carefully. Do not assume that every printed line is meant to be cut. If the instructions call for scoring, use their method with an appropriate tool and light control so you create a fold guide without cutting through the material. Practice on a suitable scrap first.
Keep the visible printed face clean and dry. Test folds without adhesive, check which tabs sit inside and confirm that the finished shape matches the diagram. When glue is required, apply it according to the instructions and avoid saturating thin paper. Excess moisture or pressure can make a small printed object look distorted.
A scene such as CUTEROOM Study Room can make you particularly interested in the small objects that furnish an interior. When browsing it alongside Coffee Shop or Candy Shop, look at the individual accessories in the gallery, then consult the supplied instructions to see how they are made. The finished appearance does not establish which objects arrive assembled. Keep that distinction in mind when planning your small-part work.
For repeated pieces, use a simple rhythm: prepare a few, fold them, assemble them, and let them set. A small batch is easier to keep track of than a table covered with nearly identical fragments. Store completed items in a shallow compartment so they are not crushed beneath larger parts.
Do not chase microscopic perfection at the expense of a sound structure. First make sure the item is correctly oriented, securely assembled and sized to fit its intended place. Then assess the visible edge from a normal viewing distance. A close-up photograph can reveal a useful correction, but it can also magnify an inconsequential irregularity.
Assemble furniture before arranging the room
Follow the supplied sequence for each furniture piece. Where the instructions allow separate assembly, work on a flat surface and let the component become stable before moving it into the room. Trying to build a small table while reaching into a finished enclosure can make alignment harder than it needs to be.
Check the contact points while the piece is accessible. Are shelves level? Do the legs meet the surface as intended? Is a printed face visible from the correct side? These questions are easier to answer with the component in your hand than after it has been surrounded by plants, books or wall panels.
Keep completed subassemblies grouped by their destination. A labeled tray for the left wall or front counter can prevent confusion if several pieces are similar. Do not add optional decorations yet if they make later handling or installation awkward. The instruction sequence should guide when a delicate detail is ready to be attached.
Before permanently placing furniture, check the next steps for lighting, wiring and access. A beautiful arrangement can still block a required cable route or make a later panel impossible to fit. Treat a temporary layout as a rehearsal, not as permission to depart from a structural instruction.
The focused interiors in the mini room collection make this relationship between furniture and space especially visible. A shop counter or desk is part of a larger composition, so its position matters as much as the neatness of its individual joints.
Check lighting at the instructed stages
If your kit includes lighting, identify the exact power requirement and follow its electrical instructions. Do not assume that a battery type, connector or wiring method from another model applies. Use only the specified power source and keep batteries and small electrical parts away from children and pets.
Inspect the planned route before closing an enclosure. Check that wires follow the intended openings and are not trapped beneath a panel or pulled tightly around an edge. Leave the battery compartment, switch and any intended access opening reachable in the completed model.
Test at the stages recommended by the instructions. A successful check before a wall is fitted can save you from having to reopen a finished scene later. Switch the power off before handling or adjusting connections, and avoid pulling a wire to move another part of the assembly.
If a light does not work, begin with the basic checks described in the manual: the required batteries, their orientation, the switch position and the correct connection. Do not bridge contacts, substitute a higher-voltage supply or cut wires as an experiment. If the cause remains unclear, stop and ask for model-specific help.
Once the lighting works, take a photograph of the accessible arrangement before covering it. This can be useful if you later need to explain a problem. It does not replace the instructions, but it records how your own model looked at a stage that may become difficult to see.
Solve common problems without rushing
When a step goes wrong, separate the symptom from the cause. A panel that will not sit flat may have an obstruction underneath it, rather than a faulty edge. A sliding ornament may need a different support while its adhesive sets, rather than more glue. Slow inspection is often more productive than repeating the same action with greater force.
| Problem | Check first | Avoid |
|---|---|---|
| A part will not fit | Part identity, orientation, nearby obstructions and the preceding step | Forcing the joint or trimming before understanding the mismatch |
| A small assembly leans | Level work surface and alignment while the join is still adjustable | Adding weight that bends thin components |
| Glue remains visible | Adhesive removal directions and the sensitivity of surrounding finishes | Spreading it with an unsuitable solvent or wet cloth |
| Paper loses its shape | Amount of adhesive, folding sequence and handling pressure | Repeatedly soaking or flattening a printed piece |
| Lighting fails | The model's power, orientation, switch and connection instructions | Improvised wiring changes or a different voltage |
| A part seems missing | Inventory, labels, unopened bags and remaining sheets | Discarding the packaging or making an irreversible substitute immediately |
For a broken structural part, keep all the pieces and photograph the damage clearly. A repair may be possible, but its suitability depends on the location, material and load. Do not rely on a decorative repair to carry a wall or roof unless the kit's support guidance confirms it is appropriate.
If an error is hidden and does not affect fit, structure or operation, decide whether correcting it would create a larger problem. This is a craft judgment, not a reason to ignore an electrical or structural issue. A tiny cosmetic mark inside a cabinet and a trapped wire need very different responses.
Work in sessions with clear stopping points
Choose a session goal you can describe plainly: finish one cabinet, prepare the paper books, or check the wall assembly. A defined task helps you notice progress even when the room itself still looks unfinished. It also makes it easier to stop at a sensible point rather than starting a complicated step when you are already tired.
Take breaks when fine work becomes uncomfortable or you notice repeated errors. Put down sharp tools, close adhesives and secure loose parts before stepping away. There is no benefit in rushing through delicate alignment simply because you hoped to finish the section that evening.
Before stopping, record three things: the last completed step, anything still drying, and the next part you need. Put the next parts beside the instructions in a labeled container. This short reset can save considerable time when you return several days later.
If two people are building together, divide clearly separable tasks and agree who is responsible for the current instruction. One person can prepare paper accessories while the other completes an independent furniture assembly, provided the manual permits that order. Avoid having two people alter the same partially finished structure without discussing it.
Larger dollhouse projects may make session planning particularly useful because the finished structure can outgrow the initial work area. Reassess your storage arrangement as the build develops instead of continuing to balance the model on a tray that is now too small.

Finish with an inspection, then prepare the display
Allow the final joins to dry or cure as instructed before moving the model. Check that the base sits as intended, attached objects are secure and no loose components remain inside. Compare the finished scene with the instructions for any functional details you might have overlooked, including controls and access panels.
Look at the model from its normal display angle. Remove visible stray scraps or loose debris only when you can do so without disturbing the construction. Avoid a last-minute cleaning method that introduces moisture or pressure to delicate paper and glued accessories. A small cosmetic improvement is not worth damaging a completed section.
Test any lighting once more, then switch it off. Keep the instructions, spare parts and a record of the required battery type together. If someone else will receive the model, explain how to lift it from the base and where the controls are located.
Choose a stable display position with room to reach the model safely. Our display and care guide covers shelf clearances, covers, dust and photography. If this project has helped you understand which tasks you enjoy most, use the kit selection guide to choose your next scene around those preferences.
The useful record of a first build is not simply how quickly it was finished. Keep a note of the tool that helped, the step that needed more preparation and the kind of detail you most enjoyed making. Those observations will make your next CUTEROOM project easier to plan and more satisfying to complete.